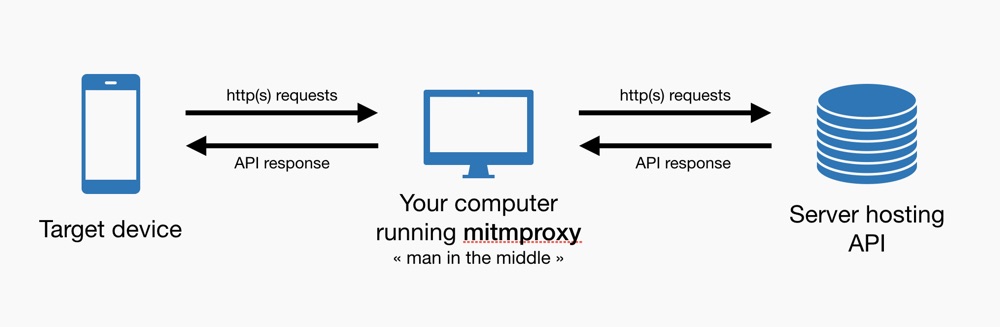
How to inspect network traffic using mitmproxy
Most of modern apps rely on APIs. « - How can I access to your catalog ? - Here’s an API for that. » APIs are everywhere and that’s not about to change.
Breaking down each part of your code into separate services is (often) good but when it comes to testing, this separation might make things a bit harder.
Front-end apps developers do not write anymore the code that takes care of the core business logic. Generally, complex data-processing tasks are done on API-side and front-end apps just have to display what is provided by the API.
This is why it is so important to be able to retrace the data path from the app to the API. When you test and validate an app, being able to answer the following questions is crucial :
- what API-endpoint(s) is the app using for this screen ?
- what is contained in the response provided by the API ?
- what happens if the API response structure changes ?
By the end of this tutorial you should be able to use mitmproxy to answer those questions. But you will see, there are many more things to do with this amazing tool.
Before we start…
You might be wondering why you should use mitmproxy instead of another tool. And that’s a good question (don’t follow the hype!).
My first argument is the price : mitmproxy is free (released under MIT Licence) when a licence for Charles Proxy costs around 50$.
Also mitmproxy is a very powerful tool : not only it provides options to rewrite traffic but it also allows you to run Python scripts to alter requests and responses. This is really helpful when trying to test edge-cases.
To finish, mitmproxy can run anywhere with a web interface or in command line : no matter the context, there are good chances you will be able to use it.
Installation
There are multiple ways to install mitmproxy. Using brew is the « standard » way but I personally prefer using it through Docker : it prevents me from dealing with Python versions and also helps to keep my Mac clean. Moreover, it’s really easy to do and no particular Docker knowledge is required.
For the installation, feel free to choose any method you feel the most comfortable with.
Using brew
If you already have brew installed on your computer, and if everything goes well, running this simple command should be enough to do the job :
brew install mitmproxy
Once mitmproxy is installed you can directly jump to the Let’s run mitmproxy section.
Using Docker
Running mitmproxy using the official Docker image is as simple as executing the following command :
docker run --rm -it -p 8080:8080 mitmproxy/mitmproxy:4.0.4
To avoid having to install mitmproxy’s certificates on your test devices every time, it is strongly advised to share the container’s certificate folder with a local one (using the -v param).
This way, certificates will be persisted even after your Docker container is killed.
docker run --rm -it -v /your/local/folder:/home/mitmproxy/.mitmproxy -p 8080:8080 mitmproxy/mitmproxy:4.0.4
To simplify the use of this command, add an alias in your ~/.bash_profile :
alias mitmproxy='docker run --rm -it -v /your/local/folder:/home/mitmproxy/.mitmproxy -p 8080:8080 mitmproxy/mitmproxy:4.0.4'
And don’t forget to execute source ~/.bash_profile after you edited the file.
Let’s run mitmproxy
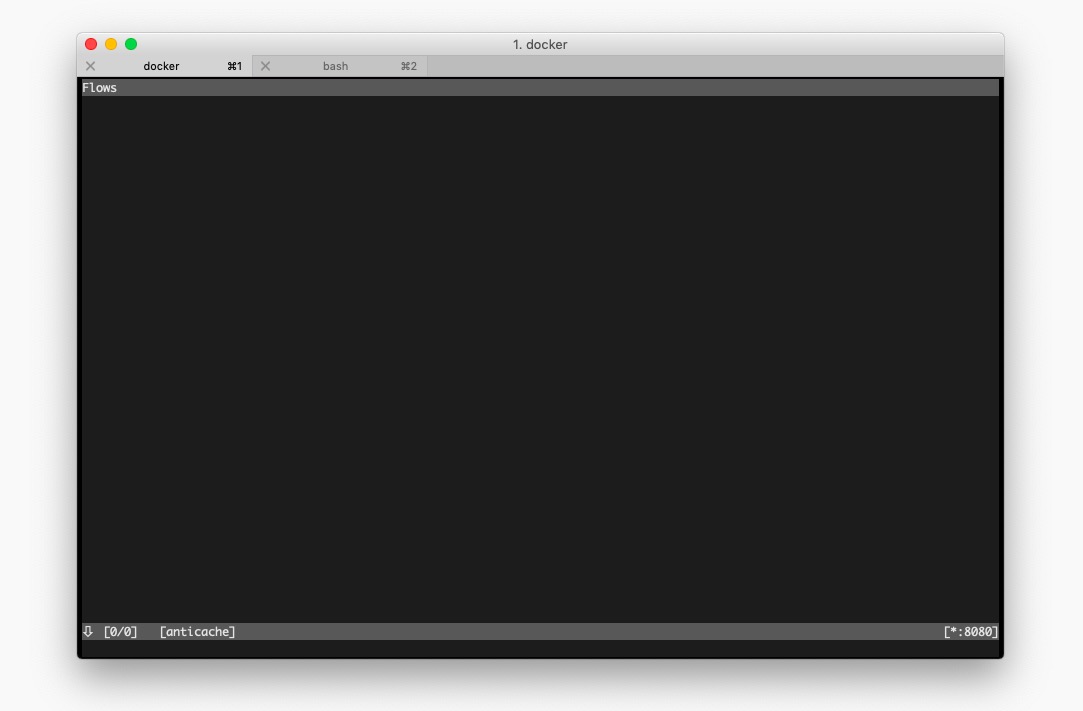
No matter how you installed it, you should now be able to start mitmproxy with the command :
mitmproxy
If the program starts then congrats! You can keep going!
Network settings on the target device
mitmproxy can run as a reverse proxy, as a transparent proxy or as a regular proxy. To keep things simple, we will use it as a regular proxy.
Using the program this way is certainly easier but it means that you can change the network settings of the the target device in order to set a proxy.
This is really simple when you need to inspect requests from an iOS or Android device but gets more complicated with devices that do not provide advanced settings for network.
Depending on your target device, just follow the corresponding sub-tutorial :
- setting a proxy on an iOS device
- setting a proxy on an Android device
- setting a proxy on a tvOS device
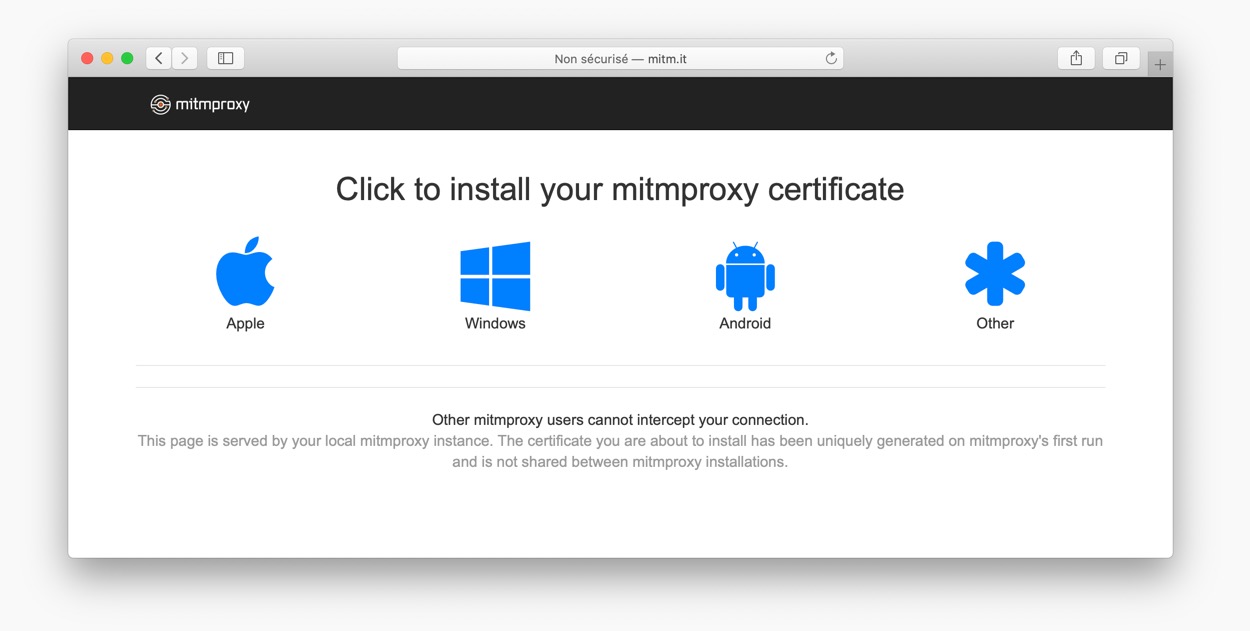
Installing the self-signed certificate
At this moment, if you start mitmproxy your device will accept HTTP traffic but reject any HTTPS request not coming directly from the server. The reason is simple : your device won’t accept any self-signed certificate unless you ask it to do so.
To intercept HTTPS requests, we need to set the certificate used by mitmproxy on the target device. This will allow your device to accept secured requests coming from your computer instead of the real server.
The complexity of installing a self-signed certificate really depends on the nature of the device you need to inspect. Basically, it goes from « very simple » to « not possible ».
Depending on your target device, just follow the corresponding sub-tutorial :
- installing a self-signed certificate on an iOS device
- installing a self-signed certificate on an Android device
- installing a self-signed certificate on a tvOS device
Let’s intercept calls
Once the certificate is installed, you are ready to intercept calls. You can start mitmproxy once again using :
mitmproxy
On the target device, open an app and check if new lines appear in the terminal.
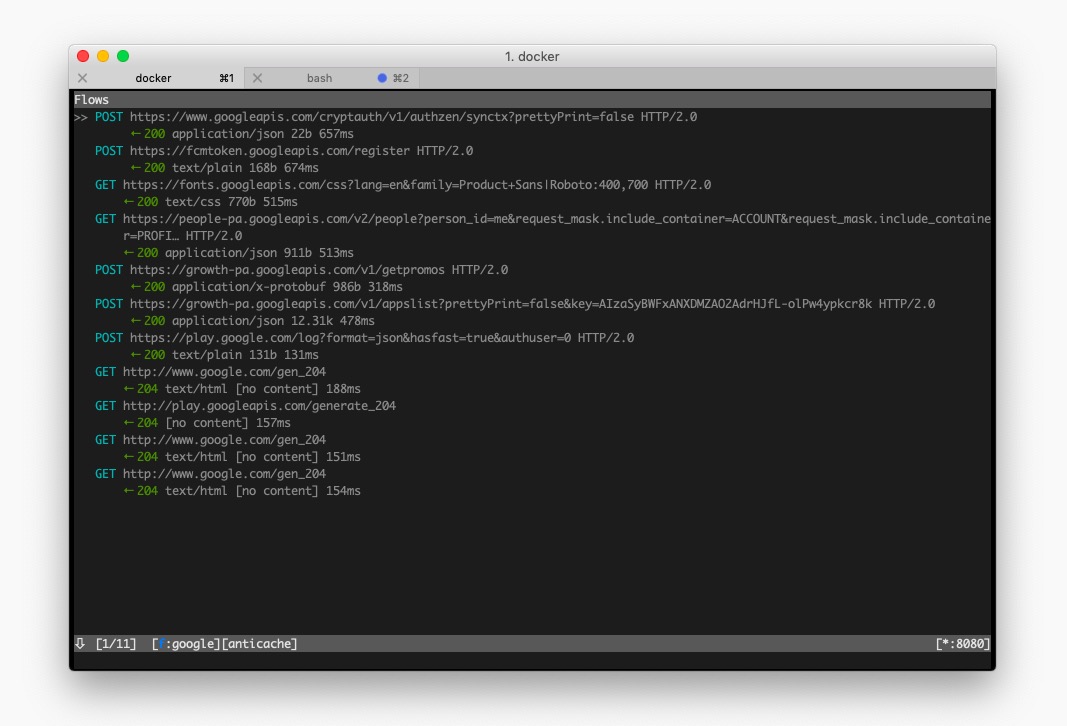
If you see requests, then congrats! Everything is set up and you can start inspecting the web traffic going through your phone or tablet.
Troubleshooting
If nothing appears and the target device seems to have no internet connection, here are a few things you should check :
- are both the computer running mitmproxy and the target device on the same network ?
- have you tried restarting mitmproxy ?
- are the proxy settings correctly set on the target device ?
- have you enabled the self-signed certificate on the target device ?
To go further
Now you should know everything you need to install mitmproxy and configure your target device. If you want to go further, have a look at the following posts :